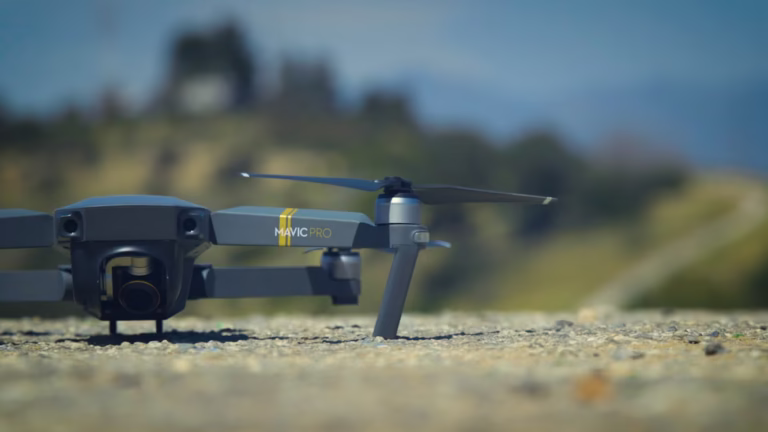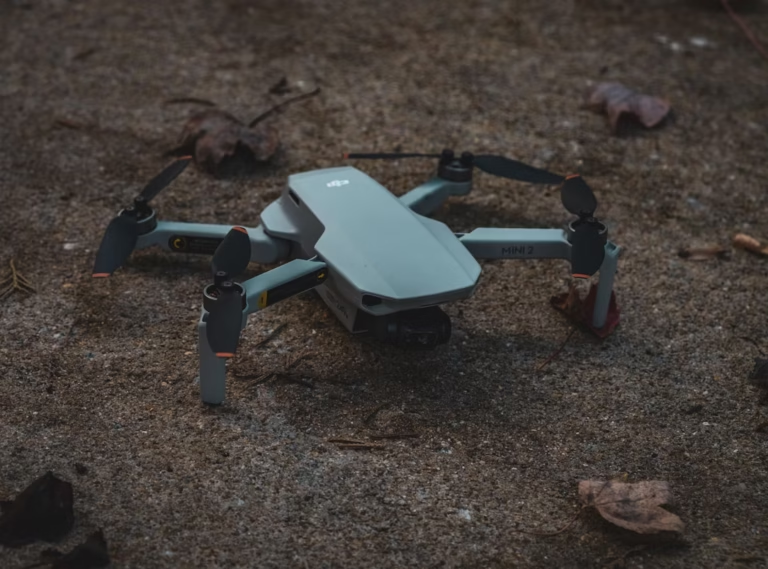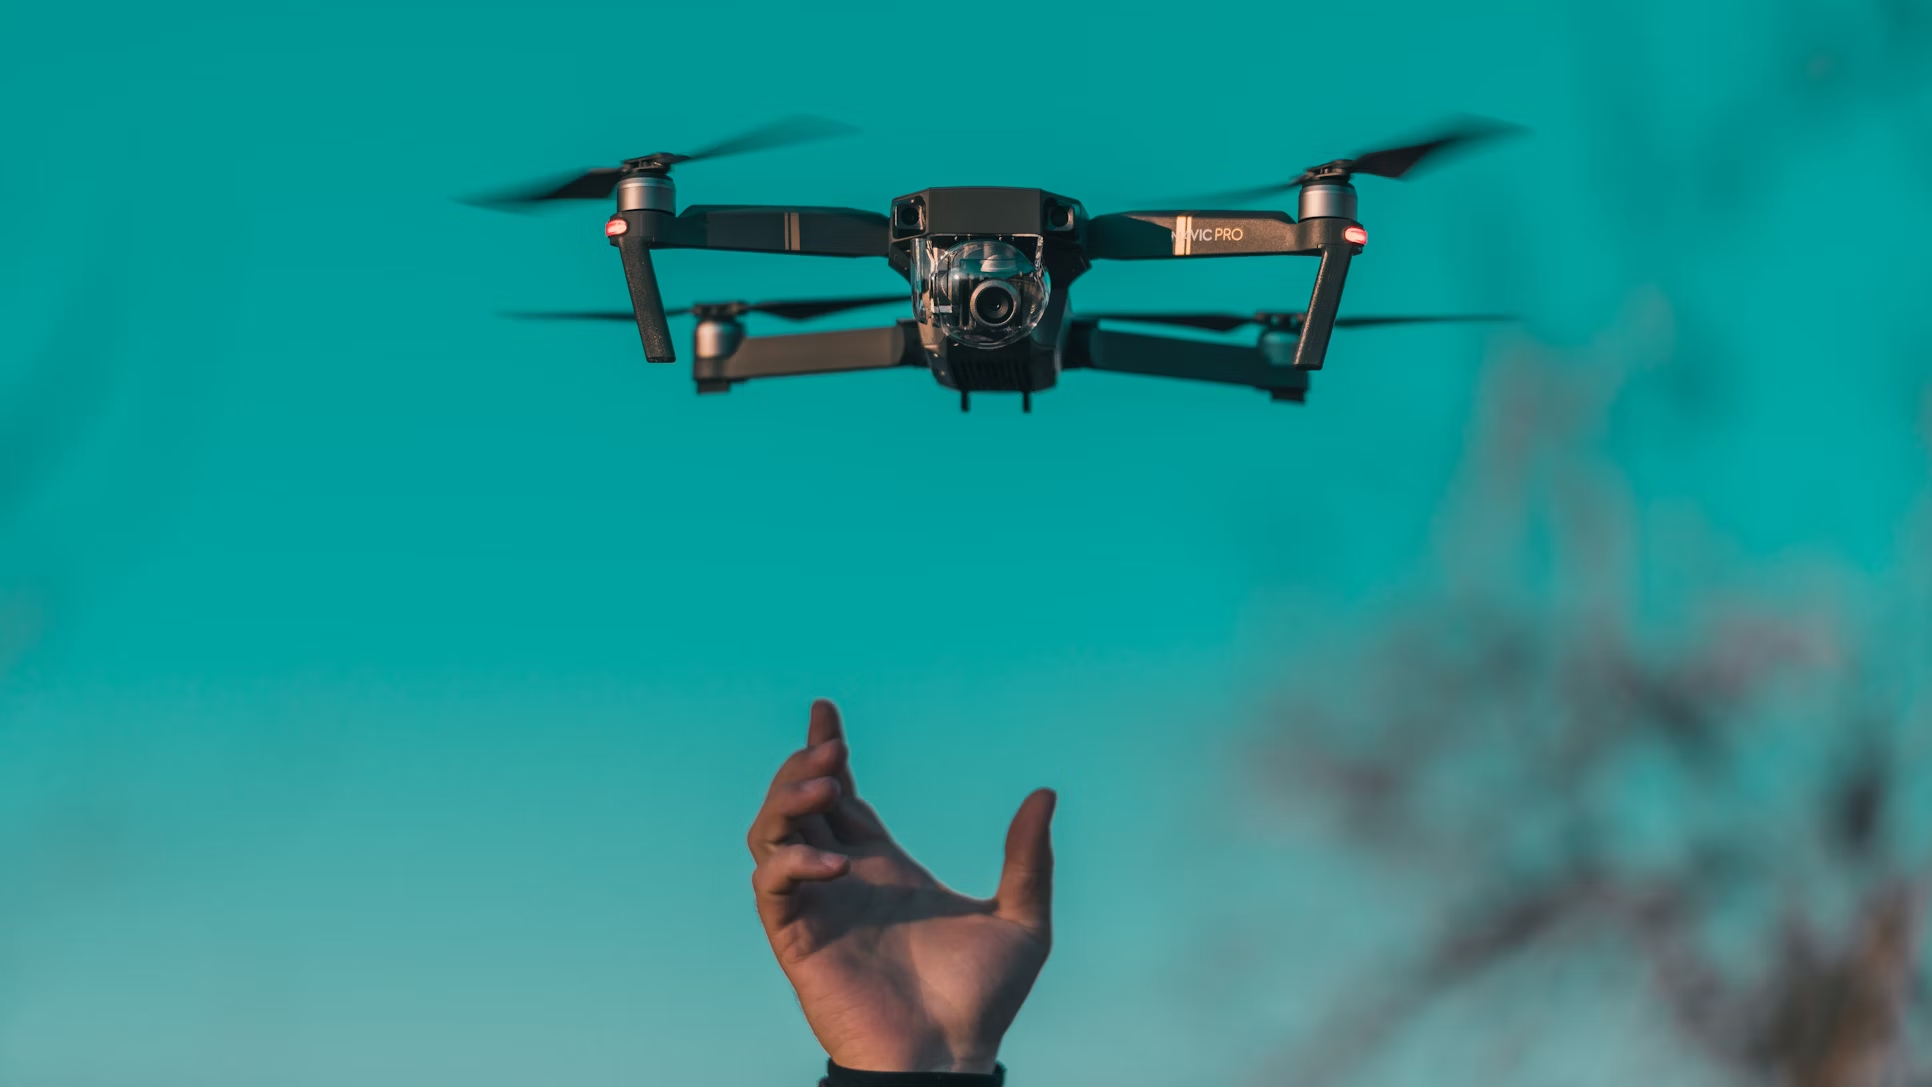
Drones are incredible tools for aerial photography, surveying, and hobbyist projects, but keeping them in top shape requires regular care and occasional repairs. Learning how to perform drone maintenance ensures your drone stays reliable, safe, and ready for flight. As a drone expert, I’ll guide you through practical steps to maintain and repair your drone, covering essential checks, common fixes, and tips to extend its lifespan.
Related Articles:
Why Drone Maintenance Matters
Regular maintenance prevents crashes, extends battery life, and ensures compliance with aviation regulations. Neglecting it can lead to motor failures, propeller damage, or costly replacements. A well-maintained drone delivers better performance and safer flights, whether you’re a professional or a hobbyist.
Step-by-Step Drone Maintenance Guide
1. Pre-Flight Inspections
Before every flight, inspect your drone to catch issues early:
- Propellers: Check for cracks, chips, or bends. Replace damaged propellers immediately to avoid an imbalanced flight.
- Motors: Spin each motor by hand to ensure smooth rotation without grinding or resistance.
- Frame and Body: Look for cracks or loose screws. Tighten any loose components with a precision screwdriver.
- Sensors and Cameras: Clean lenses and sensors with a microfiber cloth to ensure clear imaging and accurate navigation.
- Battery: Inspect for swelling, leaks, or corrosion. Ensure the battery is fully charged and securely seated.
2. Post-Flight Checks
After flying, perform these tasks to keep your drone in shape:
- Clean the Drone: Use a soft brush or compressed air to remove dust, dirt, or debris from the body, motors, and propellers.
- Check Connections: Ensure all wires and connectors are secure and undamaged.
- Store Properly: Store your drone in a cool, dry place, ideally in a protective case, to prevent moisture or heat damage.
3. Battery Care
Batteries are the heart of your drone. Follow these tips:
- Charge Correctly: Use the manufacturer’s charger and avoid overcharging. Charge batteries to 60–70% for long-term storage.
- Monitor Cycles: Most drone batteries last 200–300 cycles. Track usage and replace when performance drops.
- Inspect Regularly: Look for physical damage or reduced flight time, which signals a need for replacement.
4. Firmware and Software Updates
Keep your drone’s firmware and controller app updated:
- Check the manufacturer’s website or app for updates.
- Follow the update instructions carefully to avoid glitches.
- Updates improve performance, fix bugs, and enhance safety features.
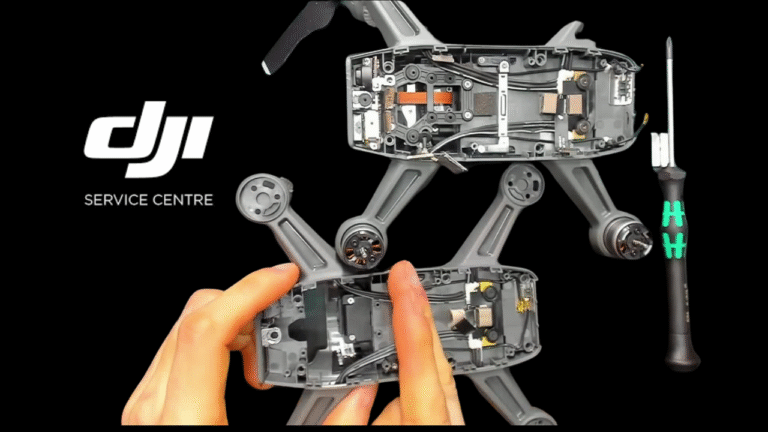
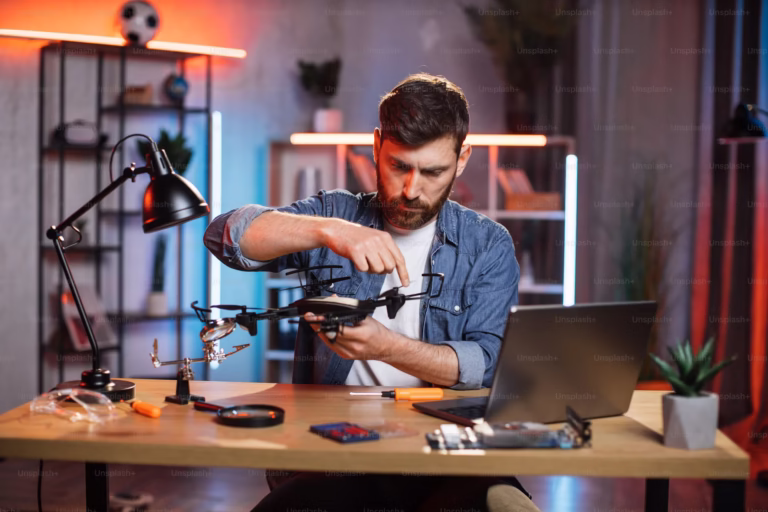
Common Drone Repairs
Even with careful maintenance, drones may need repairs. Here’s how to handle common issues:
1. Replacing Propellers
Damaged propellers are a frequent issue. To replace them:
- Identify the correct propeller type (clockwise or counterclockwise) for each motor.
- Use the provided tool or a screwdriver to remove the damaged propeller.
- Attach the new propeller, ensuring it’s secure but not overtightened.
- Test the drone in a safe area to confirm balanced flight.
2. Fixing Motor Issues
If a motor is noisy or unresponsive:
- Check for debris or hair wrapped around the motor. Remove it with tweezers.
- Test the motor with a multimeter to confirm functionality.
- If faulty, replace the motor by desoldering the old one and soldering a new, compatible motor (consult your drone’s manual for specs).
- Calibrate the drone after replacement.
3. Addressing Battery Problems
If your drone won’t power on or flight time is short:
- Check battery connections for corrosion or looseness.
- Test the battery voltage with a multimeter. If it’s below the recommended level, replace it.
- Only use manufacturer-approved batteries to avoid compatibility issues.
4. Repairing Cracked Frames
For minor cracks:
- Clean the area with isopropyl alcohol.
- Apply epoxy glue or a drone-specific repair kit to bond the crack.
- For severe damage, replace the frame by following the manufacturer’s disassembly guide.
5. Troubleshooting Connectivity Issues
If your drone loses connection to the controller:
- Recalibrate the controller and drone per the manual.
- Check for interference from Wi-Fi or other devices.
- Replace damaged antennas if needed, following the manufacturer’s guide.
Tools You’ll Need
To perform maintenance and repairs, have these tools ready:
- Precision screwdriver set
- Tweezers
- Multimeter
- Soldering kit (for advanced repairs)
- Microfiber cloth and isopropyl alcohol
- Replacement parts (propellers, batteries, motors)
When to Seek Professional Help
Some repairs, like internal circuit board fixes or advanced sensor recalibration, require expertise. If you’re unsure or the damage is extensive, contact the manufacturer or a certified drone repair service to avoid further damage.
Tips to Extend Your Drone’s Lifespan
- Fly in safe conditions, avoiding high winds or rain.
- Avoid overworking the motors by keeping flights within recommended times.
- Calibrate sensors and GPS regularly for accurate performance.
- Follow local drone regulations to prevent accidents or fines.
Conclusion
Knowing how to perform drone maintenance and repair saves time, money, and keeps your drone flying smoothly. Regular inspections, proper storage, and timely repairs are key to maximizing performance and longevity. By following these steps and investing in the right tools, you’ll keep your drone in peak condition for every flight.