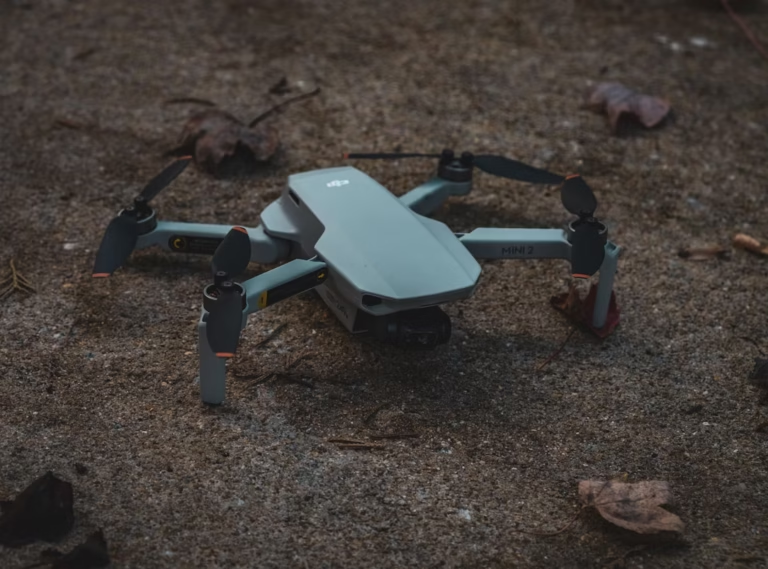
The DJI Mavic Pro is a reliable and compact drone, but like any piece of tech, it can run into issues that require repair. Whether it’s a damaged arm, a faulty motor, or a glitchy gimbal, performing a DJI Mavic Pro repair yourself can save time and money if done carefully. As someone who’s worked on drones extensively, I’ll walk you through common repairs with practical steps, tools, and tips to get your Mavic Pro flying again. This guide assumes you have basic technical skills and a steady hand.
Related Articles:
Tools You’ll Need
Before starting any DJI Mavic Pro repair, gather these tools:
- Precision screwdriver set (Phillips and Torx, sizes PH00, PH0, T6, T8)
- Plastic spudger or pry tools
- Tweezers
- Soldering iron and solder (for advanced repairs like motor replacement)
- Replacement parts (specific to your repair, e.g., motors, arms, or gimbal components)
- Anti-static wrist strap (optional but recommended)
- Clean, well-lit workspace
Always buy genuine DJI parts or high-quality third-party replacements to avoid compatibility issues. Check sites like DJI’s official store or trusted retailers for parts.
Common DJI Mavic Pro Repairs
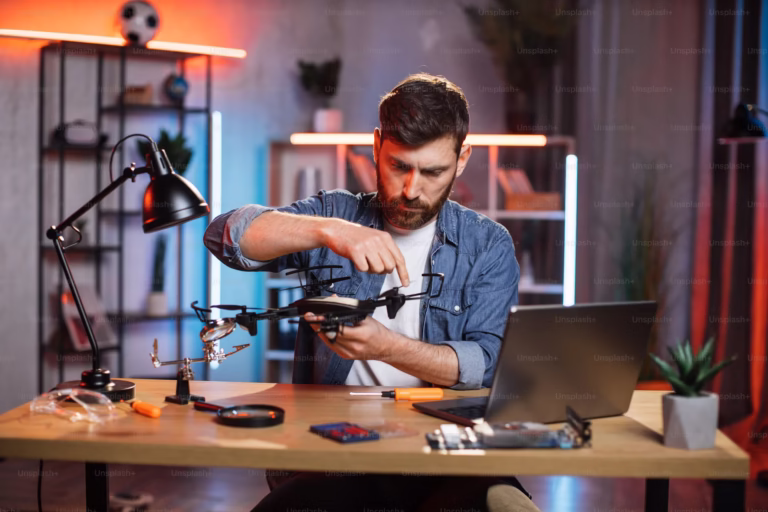
1. Replacing a Damaged Arm or Motor
The Mavic Pro’s folding arms are prone to damage from crashes. A bent arm or unresponsive motor can ground your drone.
Steps:
- Power Down and Disassemble: Turn off the drone and remove the battery. Use a T6 screwdriver to remove the screws on the bottom shell (usually 6-8 screws). Gently pry the shell open with a spudger, starting from the rear.
- Locate the Damaged Arm: Identify the arm to replace. Each arm connects to the main board via a ribbon cable and motor wires.
- Disconnect the Arm: Use tweezers to carefully unplug the ribbon cable. If replacing the motor, desolder the motor wires from the board (red, black, and white wires). Note their positions.
- Install the New Arm/Motor: Solder the new motor wires to the same spots or attach the new arm’s ribbon cable. Secure the arm with screws if it’s a full arm replacement.
- Reassemble and Test: Reattach the bottom shell, insert the battery, and power on. Use the DJI Go app to check motor function. Spin the propellers manually to ensure smooth rotation.
Tip: If soldering, use a low-wattage iron (15-25W) to avoid damaging the board. Double-check wire connections to prevent short circuits.
2. Fixing a Gimbal Issue
Gimbal problems, like shaky footage or a stuck camera, are common after impacts. The issue could be a loose ribbon cable, damaged motor, or calibration error.
Steps:
- Inspect the Gimbal: Remove the gimbal cover by gently pulling it off. Check for visible damage to the camera, motors, or ribbon cables.
- Access the Gimbal Assembly: Remove the top shell (T6 and PH0 screws) to access the gimbal’s main ribbon cable connected to the drone’s body.
- Check Connections: Ensure the ribbon cable is secure. If it’s damaged, replace it with a new one, carefully threading it through the gimbal arm.
- Replace Gimbal Motor (if needed): If a motor is faulty, desolder the old motor and solder a new one. This requires precision, as gimbal motors are delicate.
- Reassemble and Calibrate: Reattach the shell and gimbal cover. Power on and use the DJI Go app to run a gimbal auto-calibration. Test by recording a short video to confirm smooth movement.
Tip: If the gimbal still malfunctions, reset the drone’s firmware via the DJI Assistant 2 software on a computer.
3. Repairing or Replacing the Battery
A Mavic Pro battery that won’t charge or hold power can often be fixed by replacing swollen cells or the battery management board.
Steps:
- Open the Battery: Use a spudger to pry open the battery casing (be cautious, as batteries can be hazardous). Remove the top cover to access the cells and board.
- Inspect Cells: Look for swelling or leakage. If cells are damaged, desolder them and replace them with identical LiPo cells (11.4V, 3830mAh).
- Check the Battery Board: If the board is faulty (e.g., no charging), replace it with a compatible board. Solder the new board to the cell connectors.
- Reassemble and Test: Secure the battery casing with adhesive or tape. Charge the battery using the DJI charger and monitor for proper charging.
Warning: Battery repairs are risky. Work in a well-ventilated area, wear gloves, and avoid puncturing cells. If unsure, replace the entire battery.
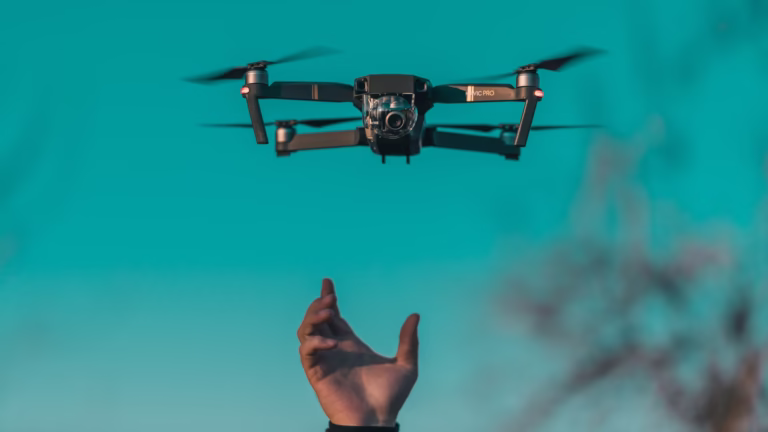
4. Fixing Connectivity Issues
If your Mavic Pro won’t connect to the controller or app, the issue might be with the Wi-Fi module or antennas.
Steps:
- Check Antennas: Open the top shell to inspect the antenna cables. Ensure they’re securely connected to the main board.
- Replace Wi-Fi Module: If the module is faulty, desolder the old one and solder a replacement. This requires advanced soldering skills.
- Update Firmware: Use DJI Assistant 2 to refresh the firmware, which can resolve software-related connectivity issues.
- Test Connection: Pair the drone with the controller and app. Fly in an open area to confirm stable signal strength.
Tip: Avoid flying near interference sources (e.g., power lines) during testing.
Troubleshooting Tips
- Error Codes: Check the DJI Go app for error messages. Codes like “Motor Overloaded” or “Gimbal Disconnected” point to specific issues.
- Firmware Issues: Always update to the latest firmware before assuming hardware failure.
- Test After Each Step: Power on and test the drone after each repair stage to catch errors early.
- Cleanliness: Keep screws and components organized. A single misplaced screw can cause vibration issues.
When to Seek Professional Help
Some DJI Mavic Pro repair tasks, like replacing the main board or repairing water damage, are complex and may require professional service. If you’re unsure or lack advanced tools, contact DJI’s repair center or a trusted drone repair shop. DIY repairs gone wrong can lead to costlier fixes.
Preventive Maintenance
To avoid frequent repairs:
- Inspect propellers for cracks before flights.
- Store the drone in a dry, cool place.
- Avoid crashes by practicing in open areas and using propeller guards.
- Regularly clean the drone with a soft brush to remove dust.
Conclusion
Repairing your DJI Mavic Pro can be straightforward with the right tools and patience. By following these steps, you can tackle common issues like damaged arms, gimbal problems, or battery failures. Always prioritize safety, use quality parts, and test thoroughly after each repair. If you hit a roadblock, don’t hesitate to consult DJI’s support or a professional technician. With care, your Mavic Pro will be back in the skies in no time.